How to Build a Simple Emergency Radio Receiver

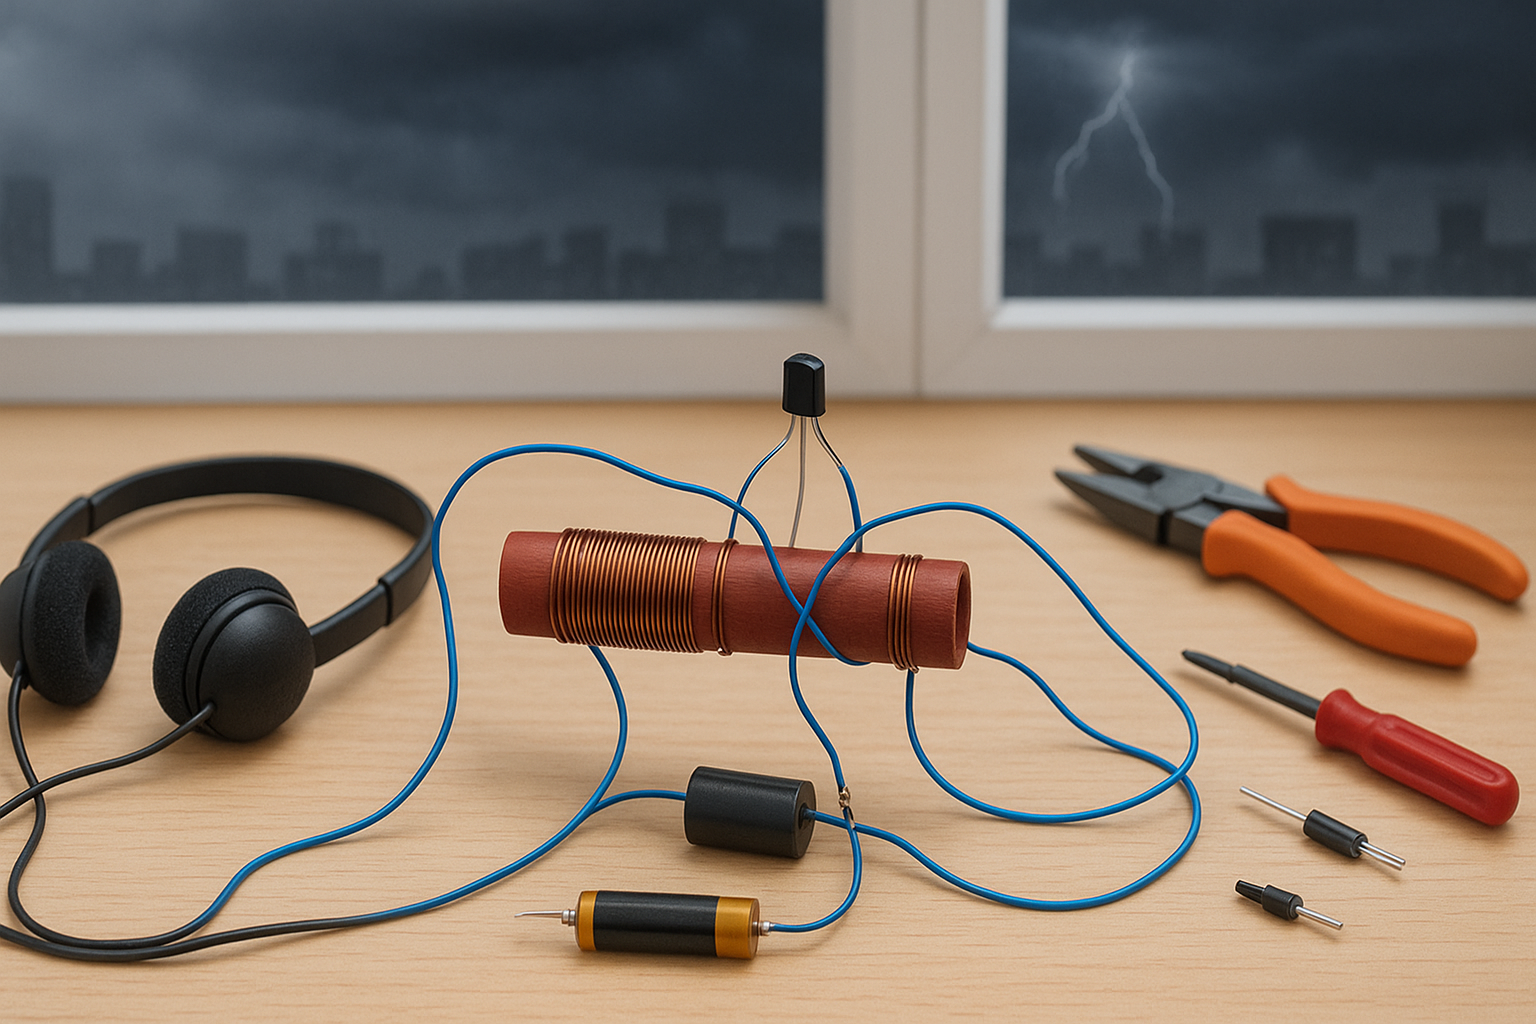
When disaster strikes and all other means of communication are down, a simple emergency radio receiver can keep you informed and even save your life. With just a few basic components and some simple instructions, anyone—even with no electronics background—can build a basic radio to pick up AM broadcasts for emergency news and weather.
Below is a beginner-friendly guide to creating a classic crystal radio receiver from everyday materials.
Why Build an Emergency Radio?
- Works without batteries or electricity.
- Receives vital news and weather on AM frequencies.
- Easy to build from scrap materials.
- No soldering or special tools required.
- Educational and fun for all ages!
What You'll Need
| Item | Description / Alternative |
|---|---|
| Enamelled copper wire | 20–30 metres, 22–26 AWG (or speaker wire) |
| Diode | 1N34A germanium (best), or any small-signal diode |
| High-impedance earphone | Crystal earpiece or old telephone earpiece |
| Cardboard tube | From kitchen roll or toilet paper |
| Antenna wire | 10m+ insulated wire or string of Christmas lights |
| Ground wire | Any wire to connect to a water pipe or metal stake |
| Paper clips | For connections |
| Electrical tape | Or regular tape |
| Safety pin | Or thumbtack (for tapping coil) |
| Optional: variable capacitor | For tuning (can be homemade from foil) |
How Does It Work?
- Antenna: Collects AM radio waves from the air.
- Coil & Capacitor: Select the station frequency (“tuning”).
- Diode: Rectifies the signal, making it audible.
- Earpiece: Turns electrical pulses into sound you can hear.
No batteries needed—the energy comes from the radio waves themselves!
Step 1: Make the Tuning Coil
- Take the cardboard tube (15–20cm long).
- Wrap about 100 turns of copper wire neatly around it. Leave at least 10cm free at both ends.
- Tape both ends down. Sand or scrape off the insulation from both wire ends.
Step 2: Set Up the Antenna and Ground
- Antenna: Use a long piece of wire, ideally at least 10 meters. Hang it out a window, along a fence, or as high as possible.
- Ground: Attach a wire to a metal pipe, radiator, or a metal stake driven into moist ground.
Step 3: Connect the Circuit
- Connect one end of the coil to the antenna.
- Connect the other end of the coil to the ground wire.
- Attach the diode to the coil near the antenna end. The banded (cathode) end of the diode connects toward the earpiece.
- Connect one earpiece wire to the diode, the other to the ground.
- Use paper clips to hold wires together or tape them in place.
Optional:
For tuning, connect a homemade variable capacitor (two sheets of foil separated by plastic) in parallel with the coil. Move the foil sheets to change the capacitance.
Step 4: Listen In
- Insert the earpiece in your ear.
- Slowly tap the diode connection along the coil (“cat’s whisker” effect) to tune for the strongest signal.
- Try at night for better reception.
- If you can’t hear anything, make sure connections are tight, antenna is long enough, and you have a real ground.
Tips to Improve Reception
| Tip | Result |
|---|---|
| Longer antenna wire | Picks up more stations |
| Good ground connection | Stronger and clearer audio |
| Use a germanium diode | More sensitive than silicon |
| High-impedance earpiece | Modern earbuds may be too low impedance |
| Try different coil taps | Helps “tune” different stations |
| Listen at night | AM signals travel farther after dark |
Crystal Radio Schematic

(Image: Wikipedia)
Frequently Asked Questions
Do I need batteries?
No. Crystal radios run off the energy in the radio waves.
Can I tune different stations?
Yes, by moving the connection (“tap”) along the coil, or adding a variable capacitor.
Will it work for FM or DAB?
No. This design only works for AM/medium wave.
What if I can’t hear anything?
Check all connections, use a longer antenna, and try at night for better AM signals.
Sample Parts Table
| Component | Typical Source |
|---|---|
| Enamelled copper wire | Hardware/electronics stores, old motors |
| Diode | Electronics stores, Amazon |
| Crystal earpiece | Old radios, eBay |
| Cardboard tube | Kitchen roll, mailing tube |
| Antenna wire | Any insulated copper wire |
Conclusion
You don’t need fancy gear or advanced skills to build an emergency radio. With just a few common materials and patience, you can create a life-saving receiver for news and alerts—even in a total blackout.
Try building one as a family project. It’s fun, educational, and could be your lifeline in a real emergency.
For more DIY survival guides, check out the rest of our blog!